
Pumpkin bread with cream cheese
450 g pumpkin puree
450 g all purpose flour
400 g sugar
4 eggs
225 g butter, melted
120 ml water
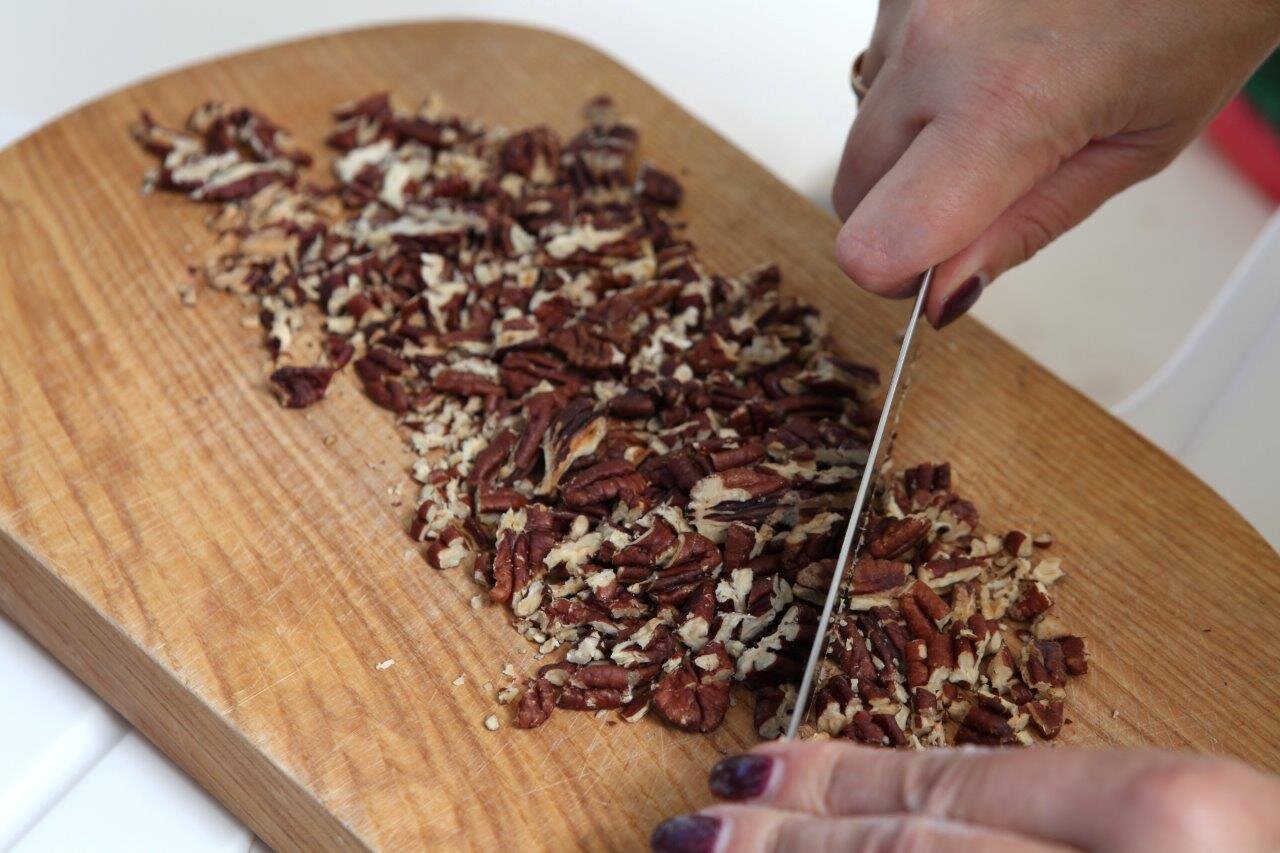
100 g walnuts or pecans
1 tsp baking powder
1 tsp baking soda
1 ½ tsp cinnamon
¼ tsp nutmeg
2 tsp vanilla paste or vanilla sugar
¾ tsp salt
For the filling
225 g cream cheese, room temp
100 g sugar
2 eggs
1 ½ tbsp all purpose flour
2 tbsp butter for the pan
1. Butter two bread pans (approx 28x10x6 cm), preheat oven to 180 degrees (celsius).
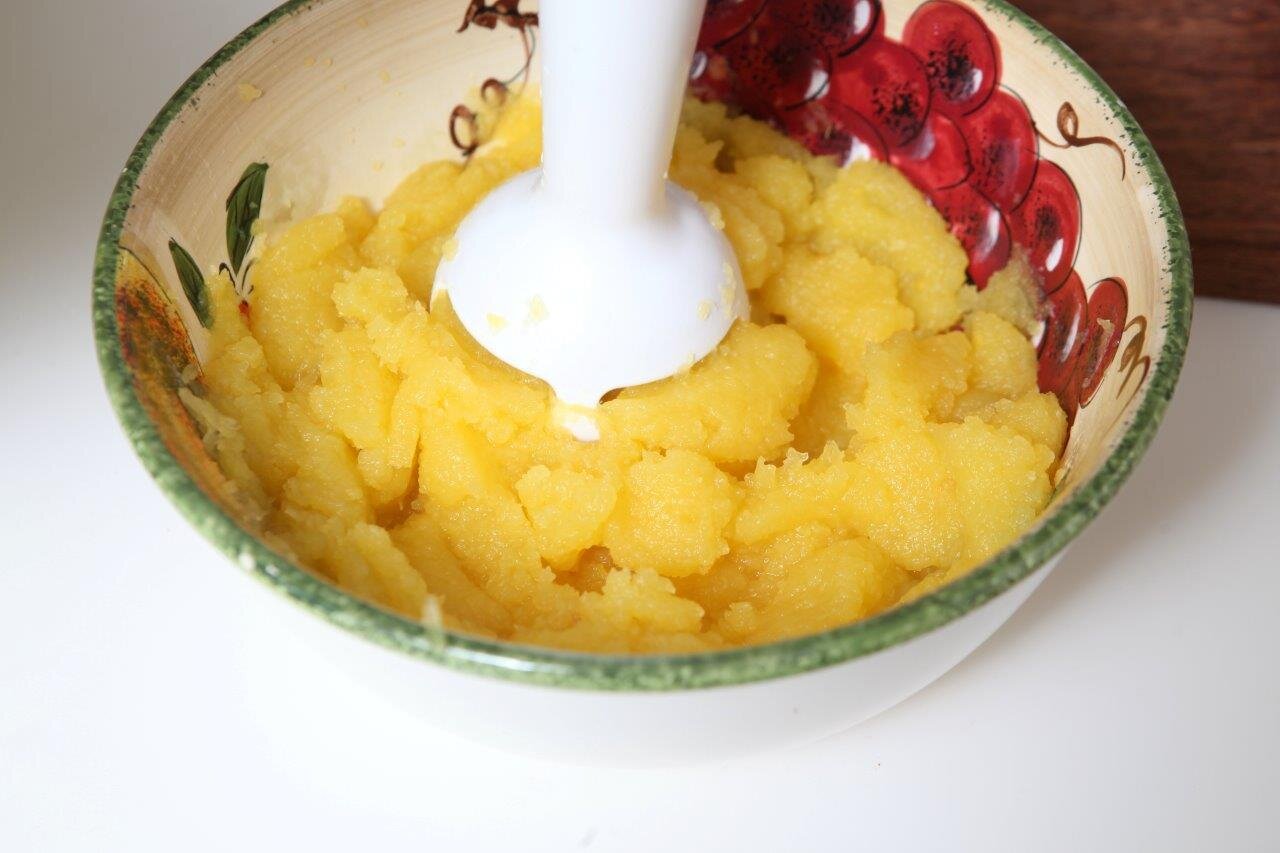
2. Place pumpkin slices in the oven to bake for about 45-60 min, depending on the size of the slices. When the pumpkin is soft (test by cutting it with a knife) remove from oven, let it cool and use a spoon to scrape off the flesh from the skin. Then blend in a puree consistency.
3. Place the nuts on a baking sheet and bake in the oven until fragrant, about 8-10 minutes. Let cool and chop up roughly.
Make the filling
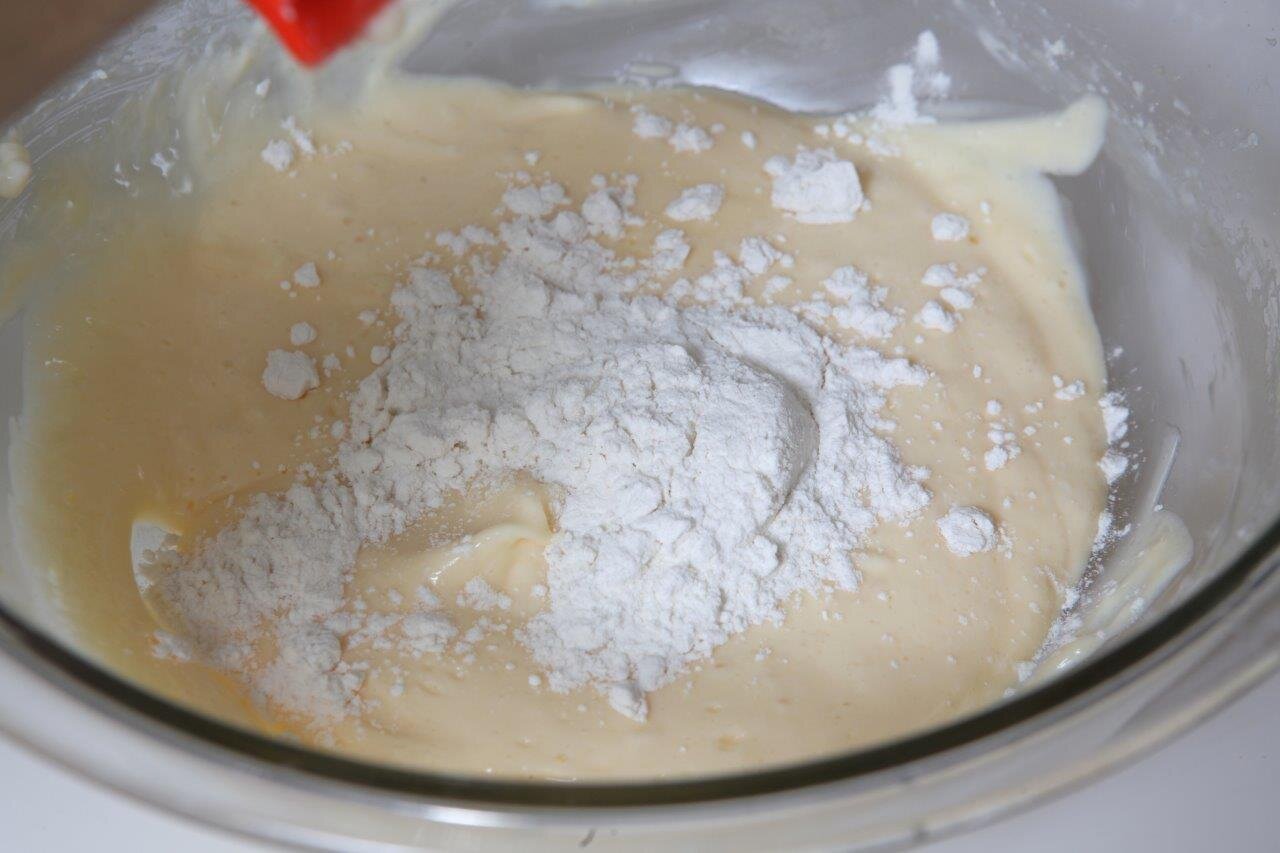
4. Use a mixer or whisk to beat the cream cheese until soft and then add the sugar. When creamy, beat in the eggs one by one. Stir in the flour, set aside.


Make the batter
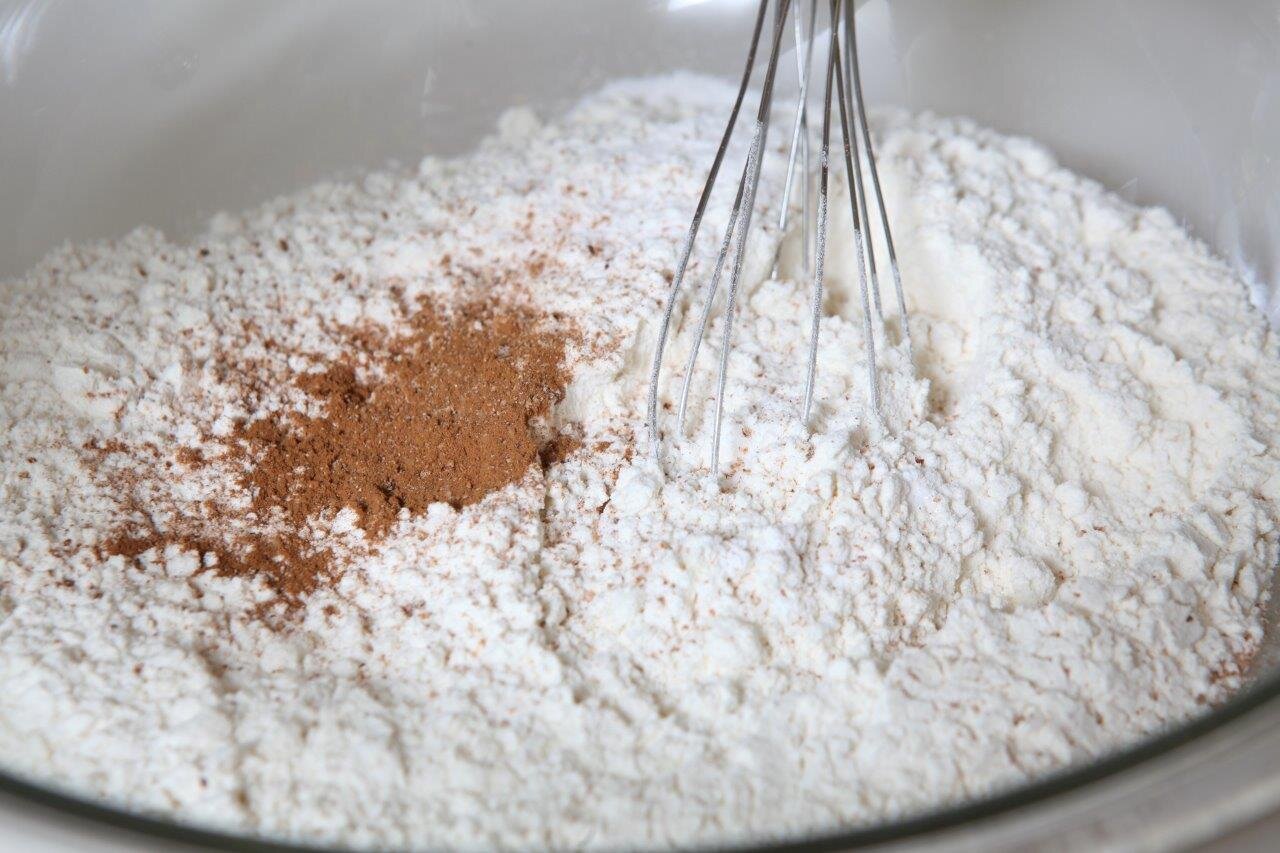
5. In a medium bowl, whisk together the sifted flour, baking powder, baking soda, salt, cinnamon, nutmeg. Set aside.
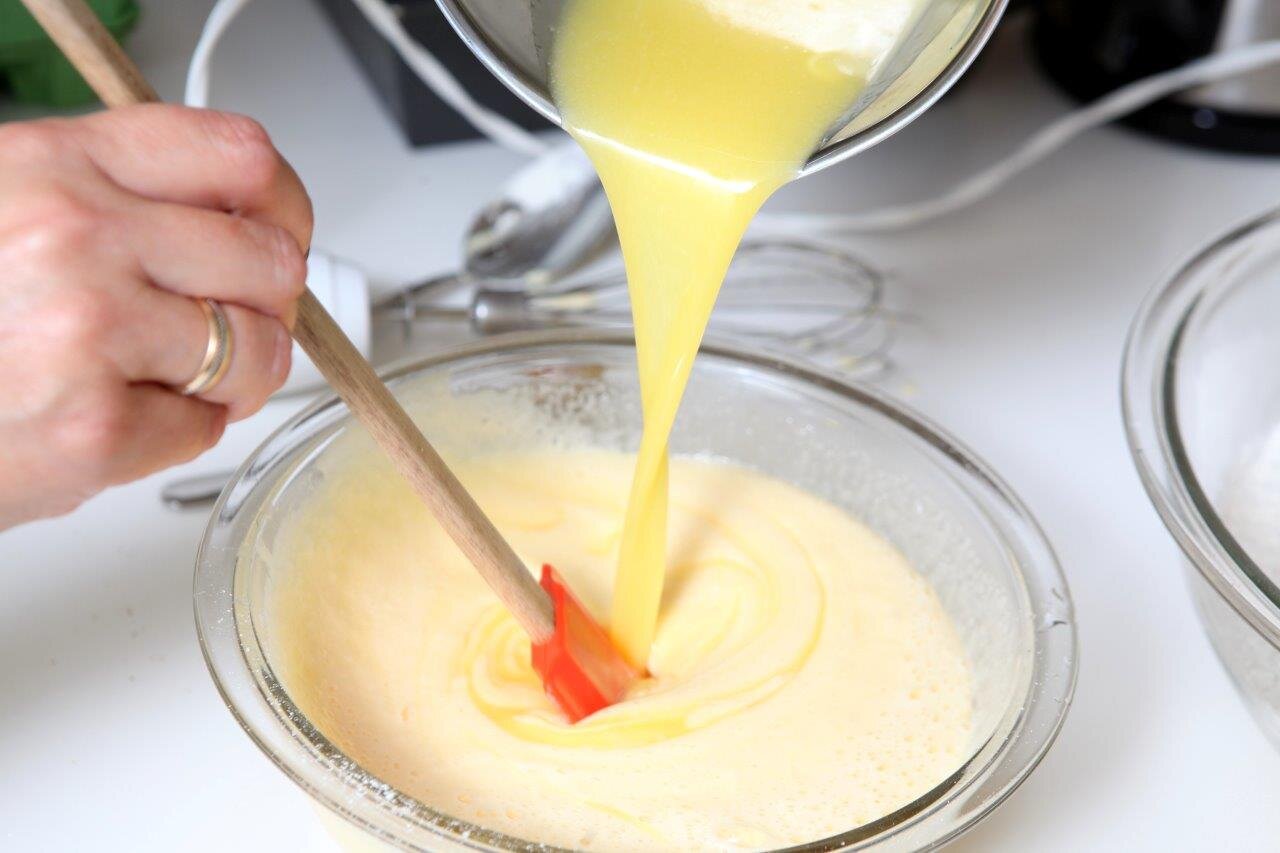
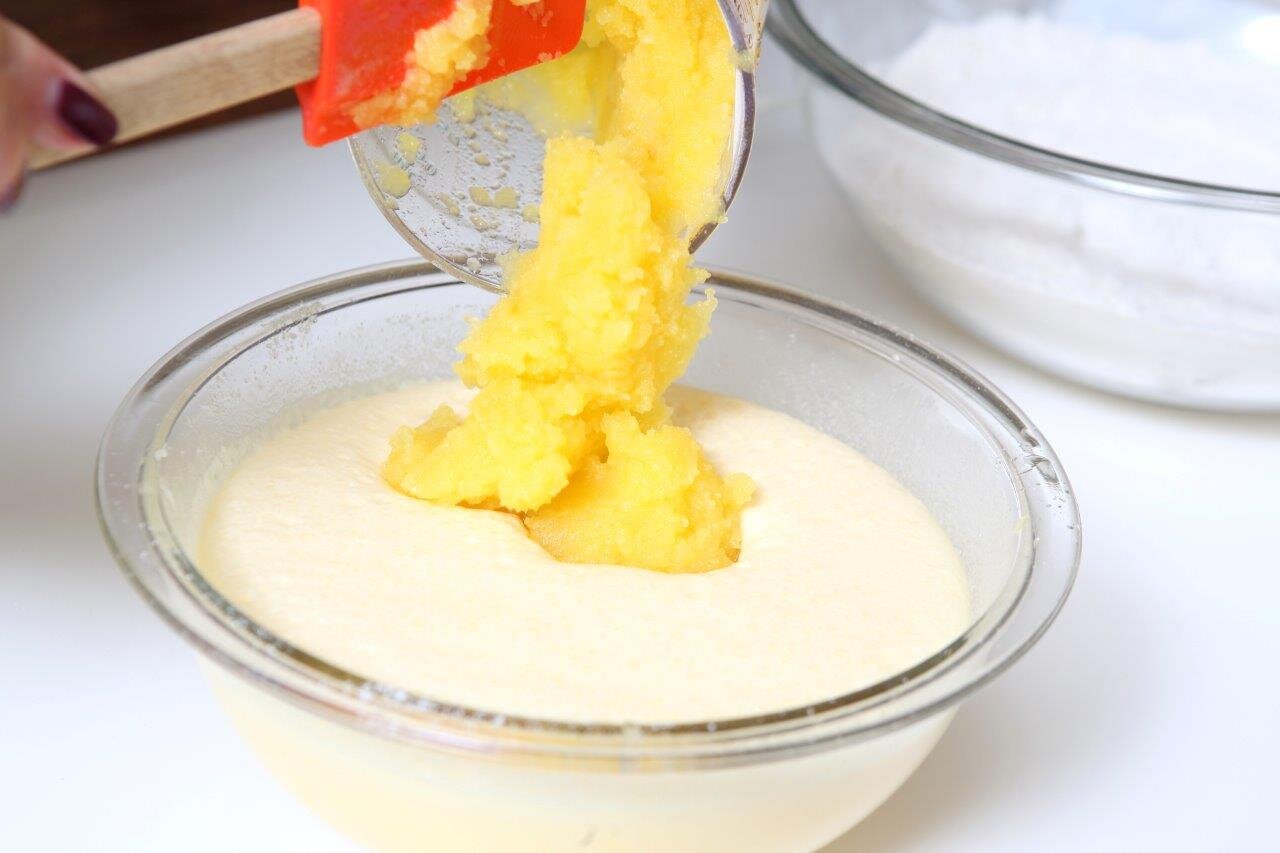
6. In a large bowl beat the eggs lightly, then add sugar and cooled melted butter. Stir in the pumpkin puree, water, vanilla and chopped nuts.
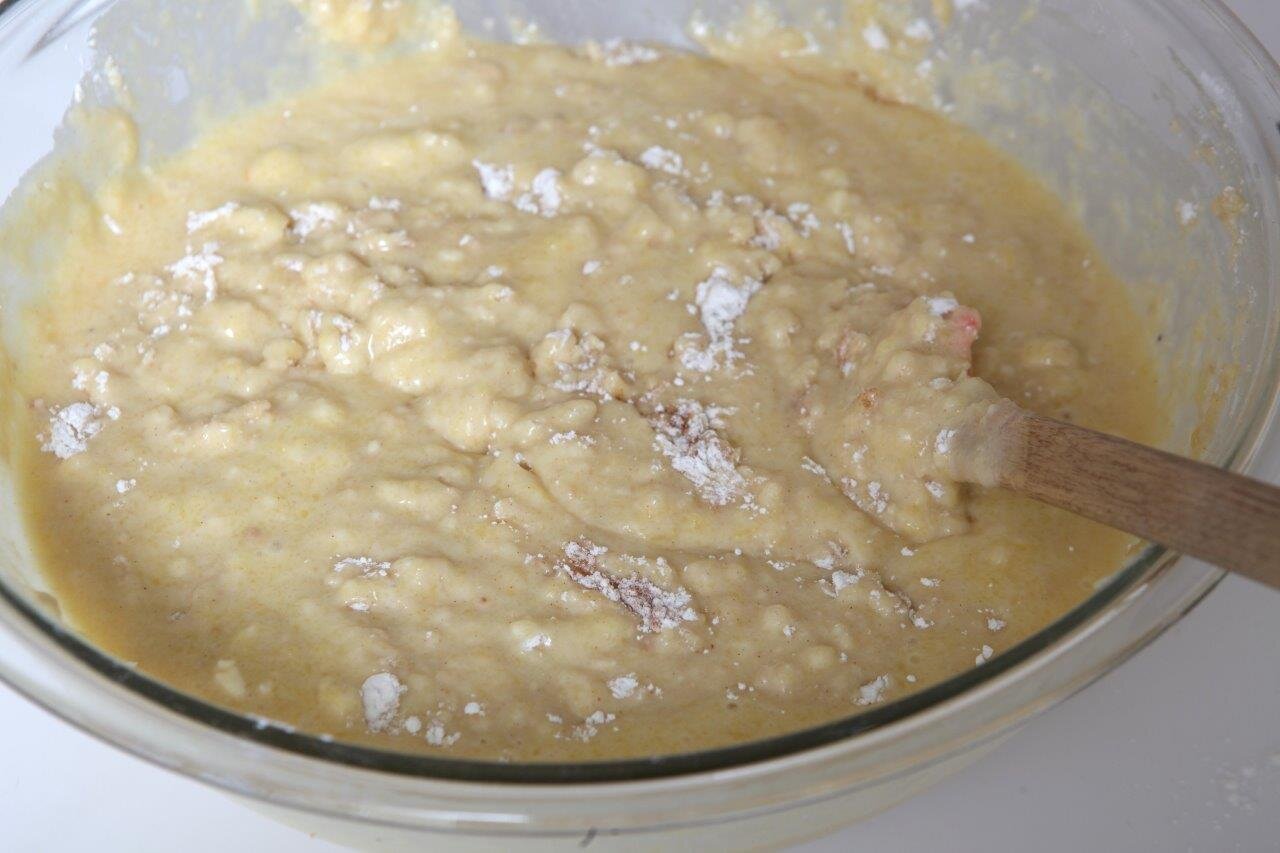
7. Lightly stir the flour mixture in the pumpkin mixture, be careful not to overmix, that will make the bread tough and not as light. It’s ok if the batter has a few chunks of flour in it.
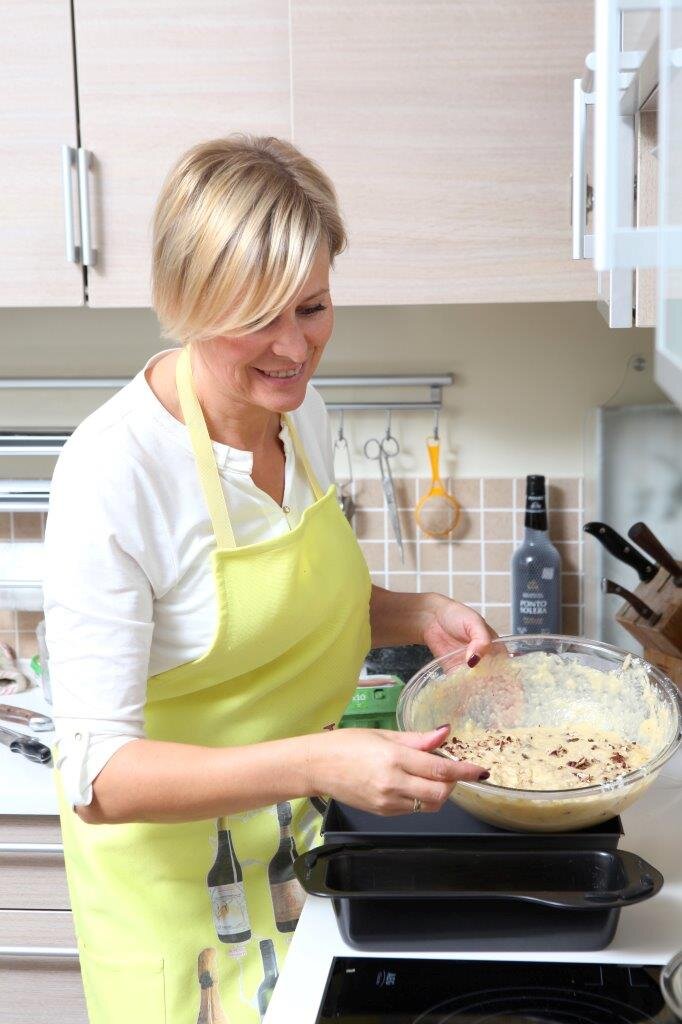
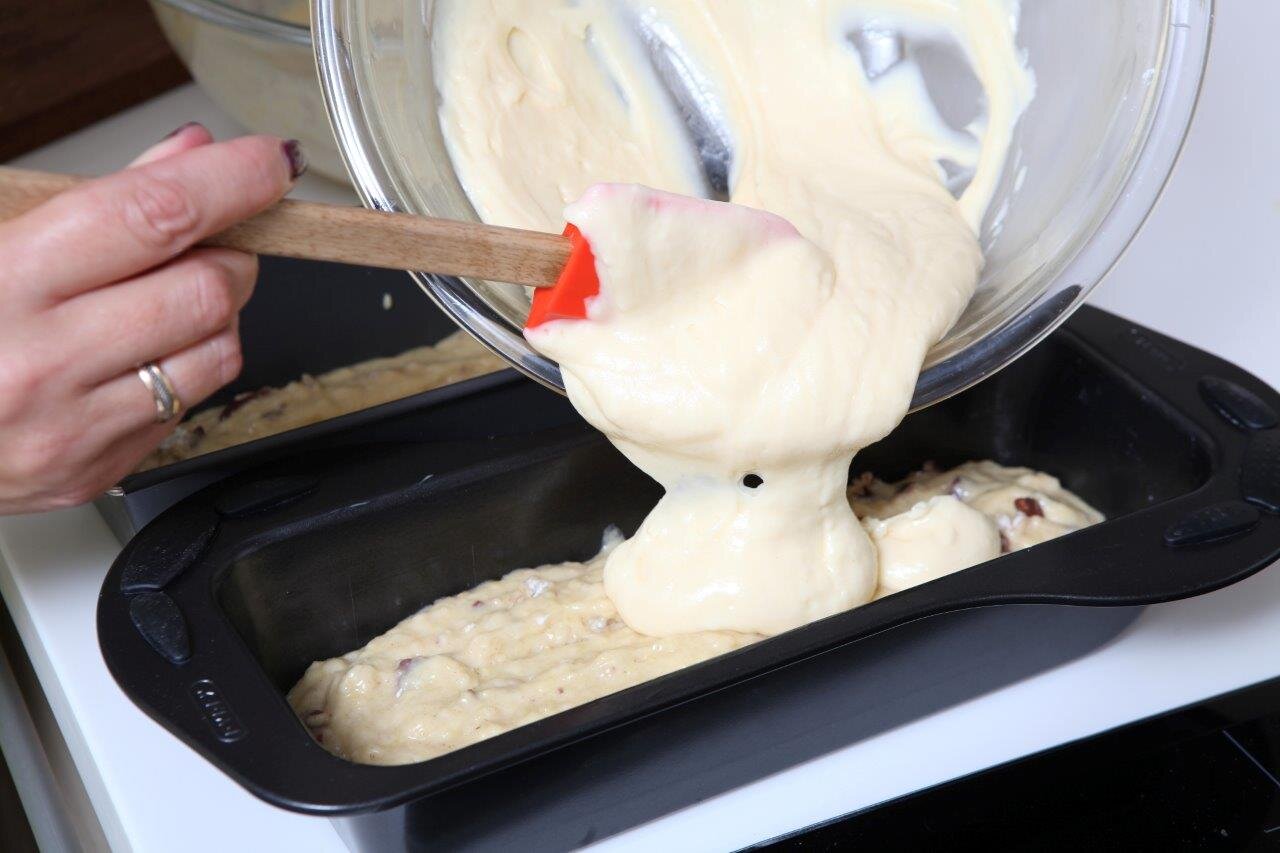
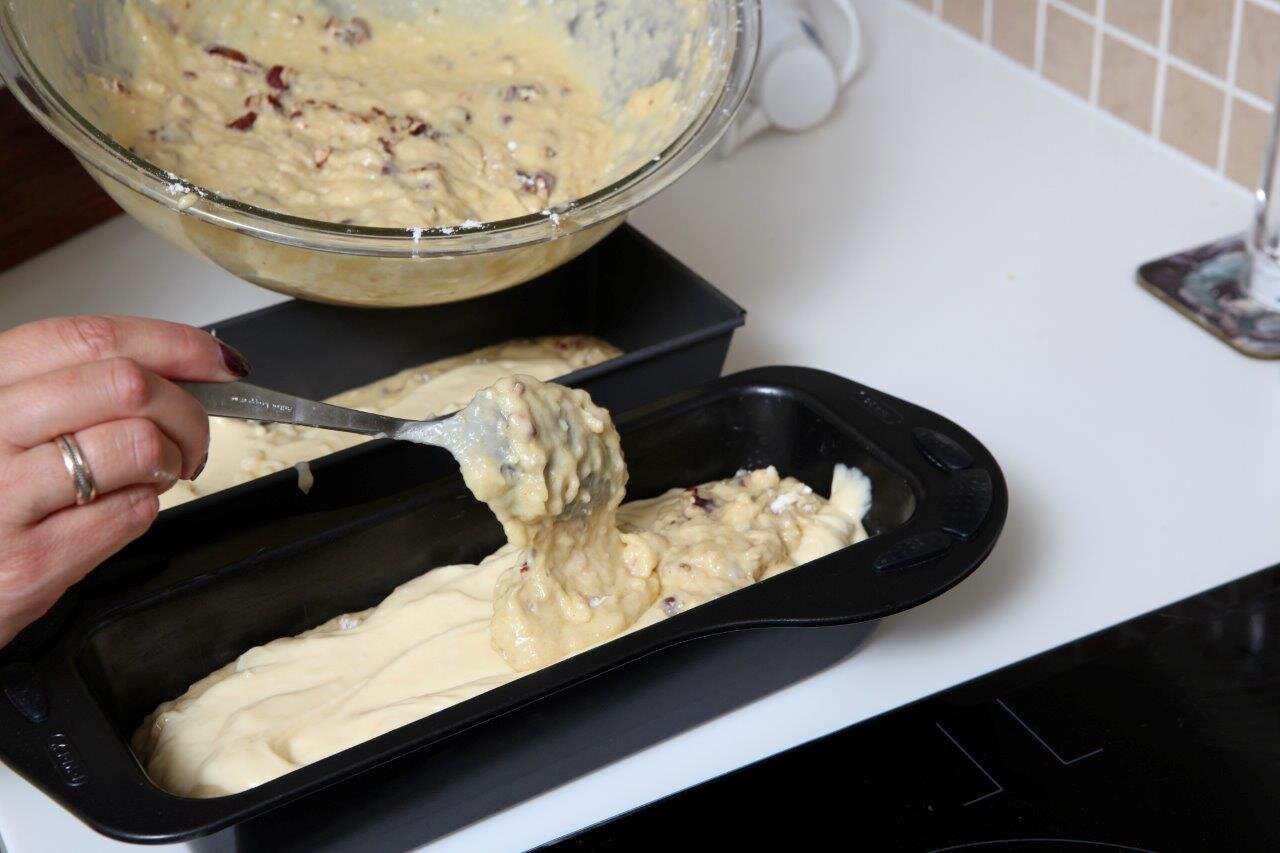
8. Pour a quarter of the batter at the bottom of both pans. Now pour half of the filling in each pan in the middle. Top it off with the rest of the batter and even it out with a spatula.
9. Place both pans in the center of the oven and bake for 55-65 min until a toothpick inserted comes out clean.
10. Remove from the oven and place on a wire rack to let cool for at least 10 min. Then you can turn over the pans to remove the breads and slice them to serve. Can be served both hot and cold either with some butter or Nutella.
Recipe: Ārija Avota
Photo: Ieva Andersone (IG: @photoievaandersone)


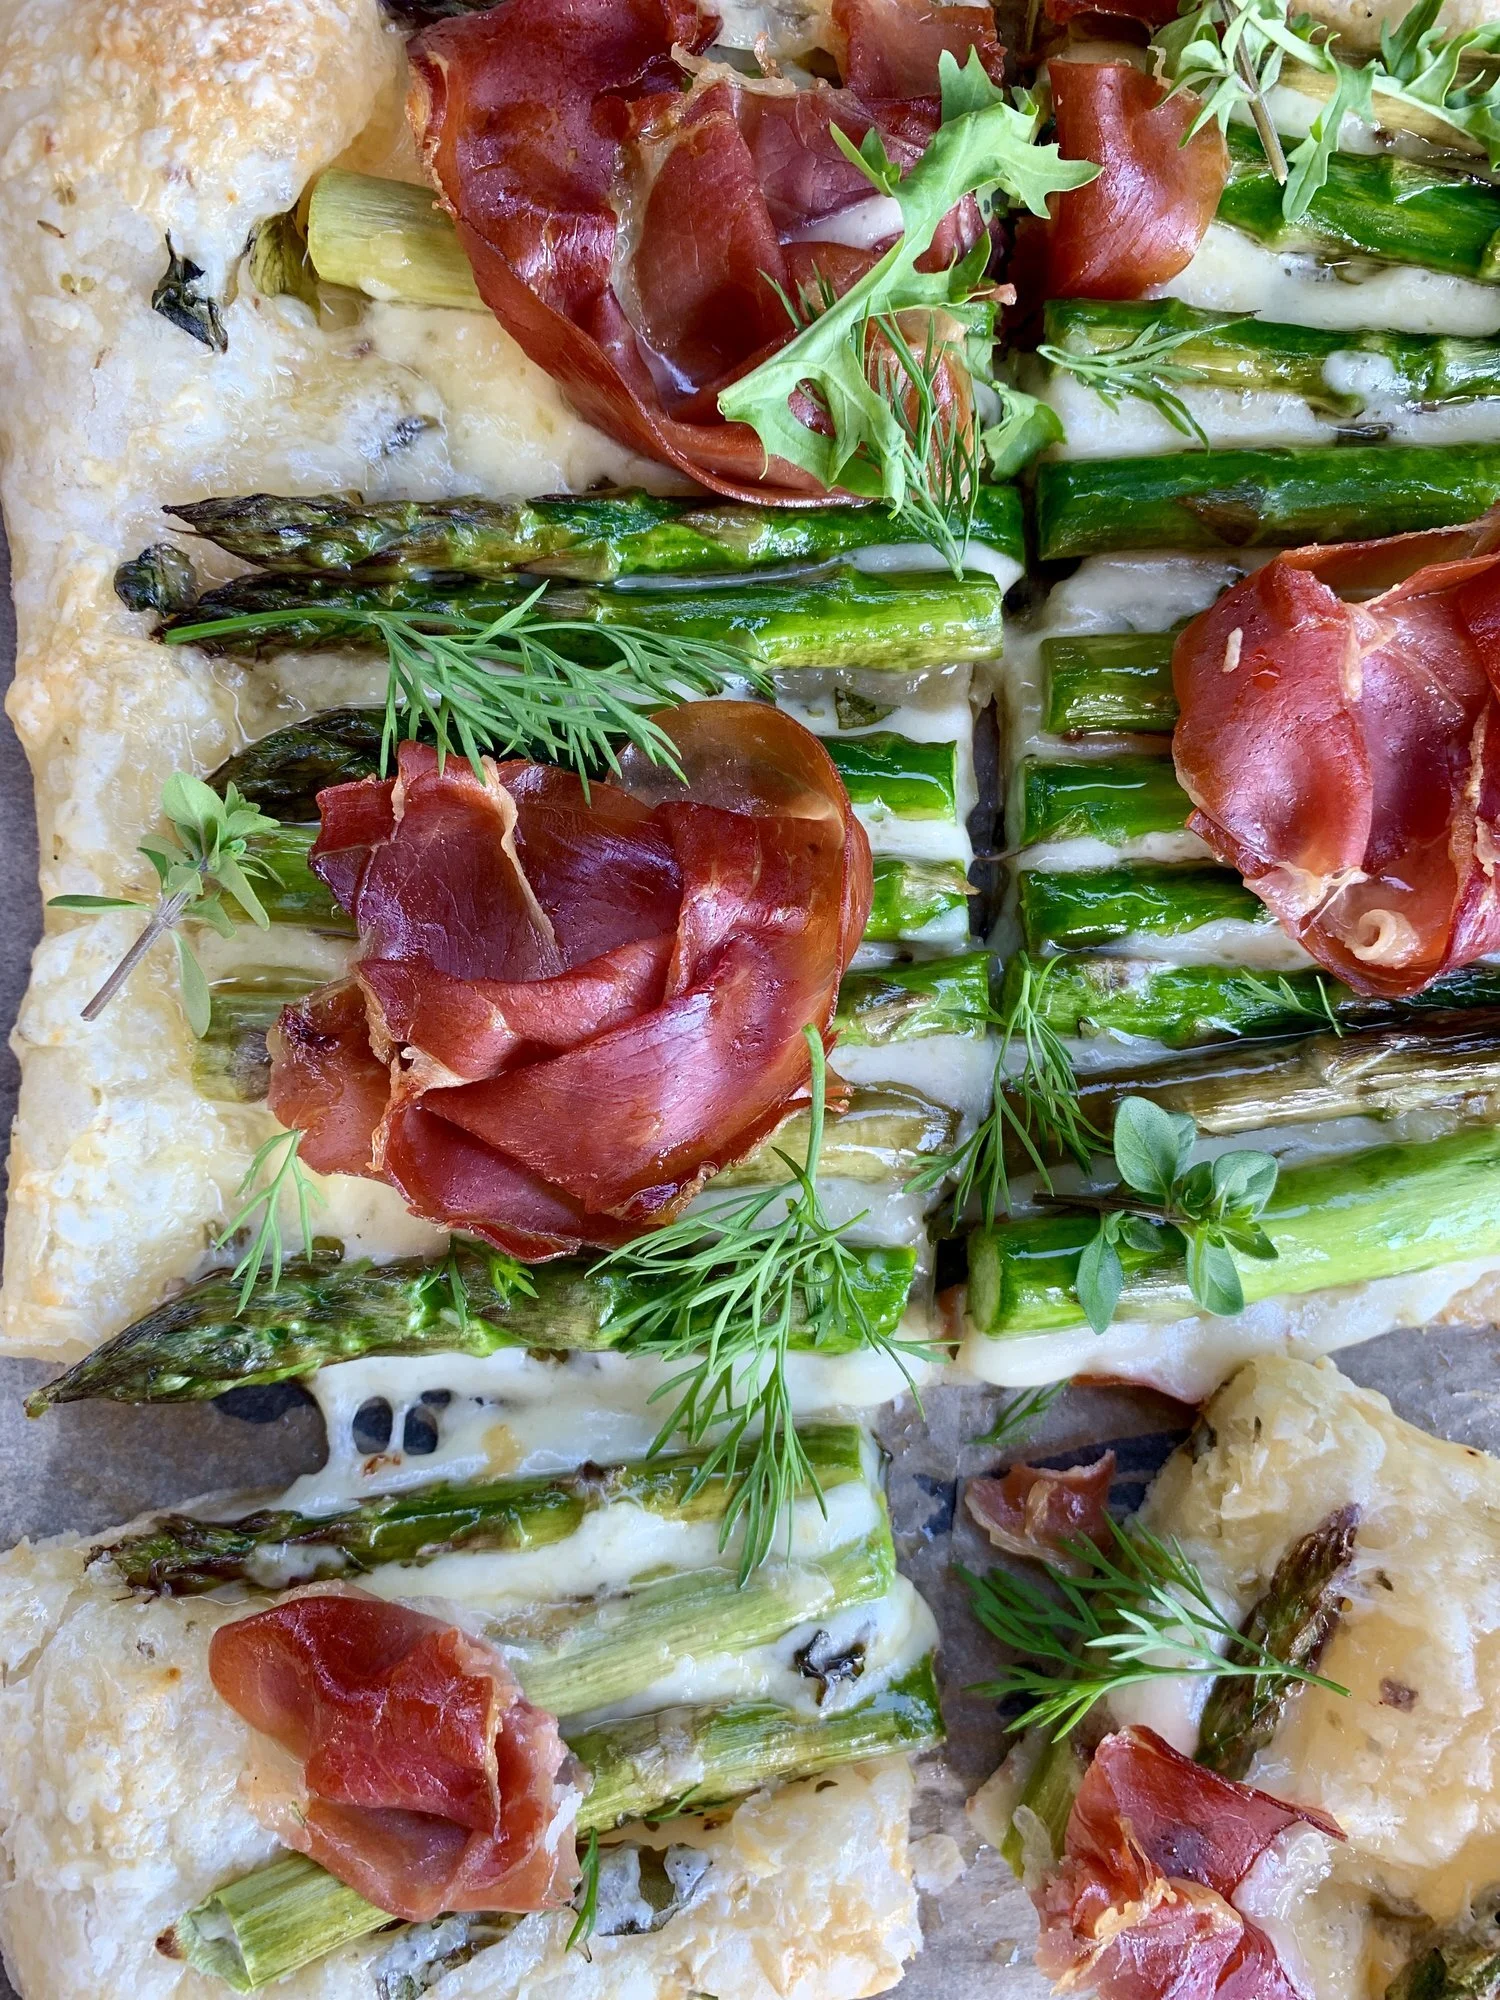
Artichoke and Parma ham galette
A great breakfast or snack idea! You can add and combine any flavors over the cheese- asparagus, tomatoes, squash, eggplant, salmon, sun dried tomatoes, olives, etc. My favorite combos are with artichoke (as in the top picture) and asparagus in the spring. What will be your favorite combination?
400 g puff pastry, if using frozen type- remove from freezer 20-30 min before baking to let defrost in room temp
200 g Cheddar cheese, grated
A few tbsp extra virgin olive oil
Oregano
100-150 g canned artichokes in oil
1 small tomatoe, sliced
5-6 slices Parma ham
Basil, torn in pieces
Salt to taste
For serving
Arugula, soft boiled eggs, olive oil
1. Preheat the oven to 190 degrees (celsius).
2. Create a 20x40 cm base either rolling out the pastry or sticking the defrosted squares together. Place on a baking sheet.
3. Use a brush to evenly distribute olive oil all over the pastry.
4. Sprinkle the torn basil and other spices- oregano, salt and cheese.
5. Drain the canned artichokes and cut the biggest ones in half. Slice the tomato.
6. Place the artichokes and tomato slices evenly all over the galette.
7. Roll up the Parma ham in “roses” and place on top of the galette.
8. On a baking pan, place in center of oven to bake for 25-30 min until top and bottom of pastry is nicely browned.
9. If desired, sprinkle the arugula and olive oil over the baked galette. If served for breakfast- then cover with the soft boiled eggs, cut in 4 pieces.
Recipe: Ārija Avota
Photo: Ārija Avota

Variation for spring, when it is asparagus season:
5. Wash and pat dry the asparagus, if not using baby asparagus, then cut off 2 cm from the ends.
6. Toss the asparagus with olive oil in a bowl and place on top of the cheese on the galette.
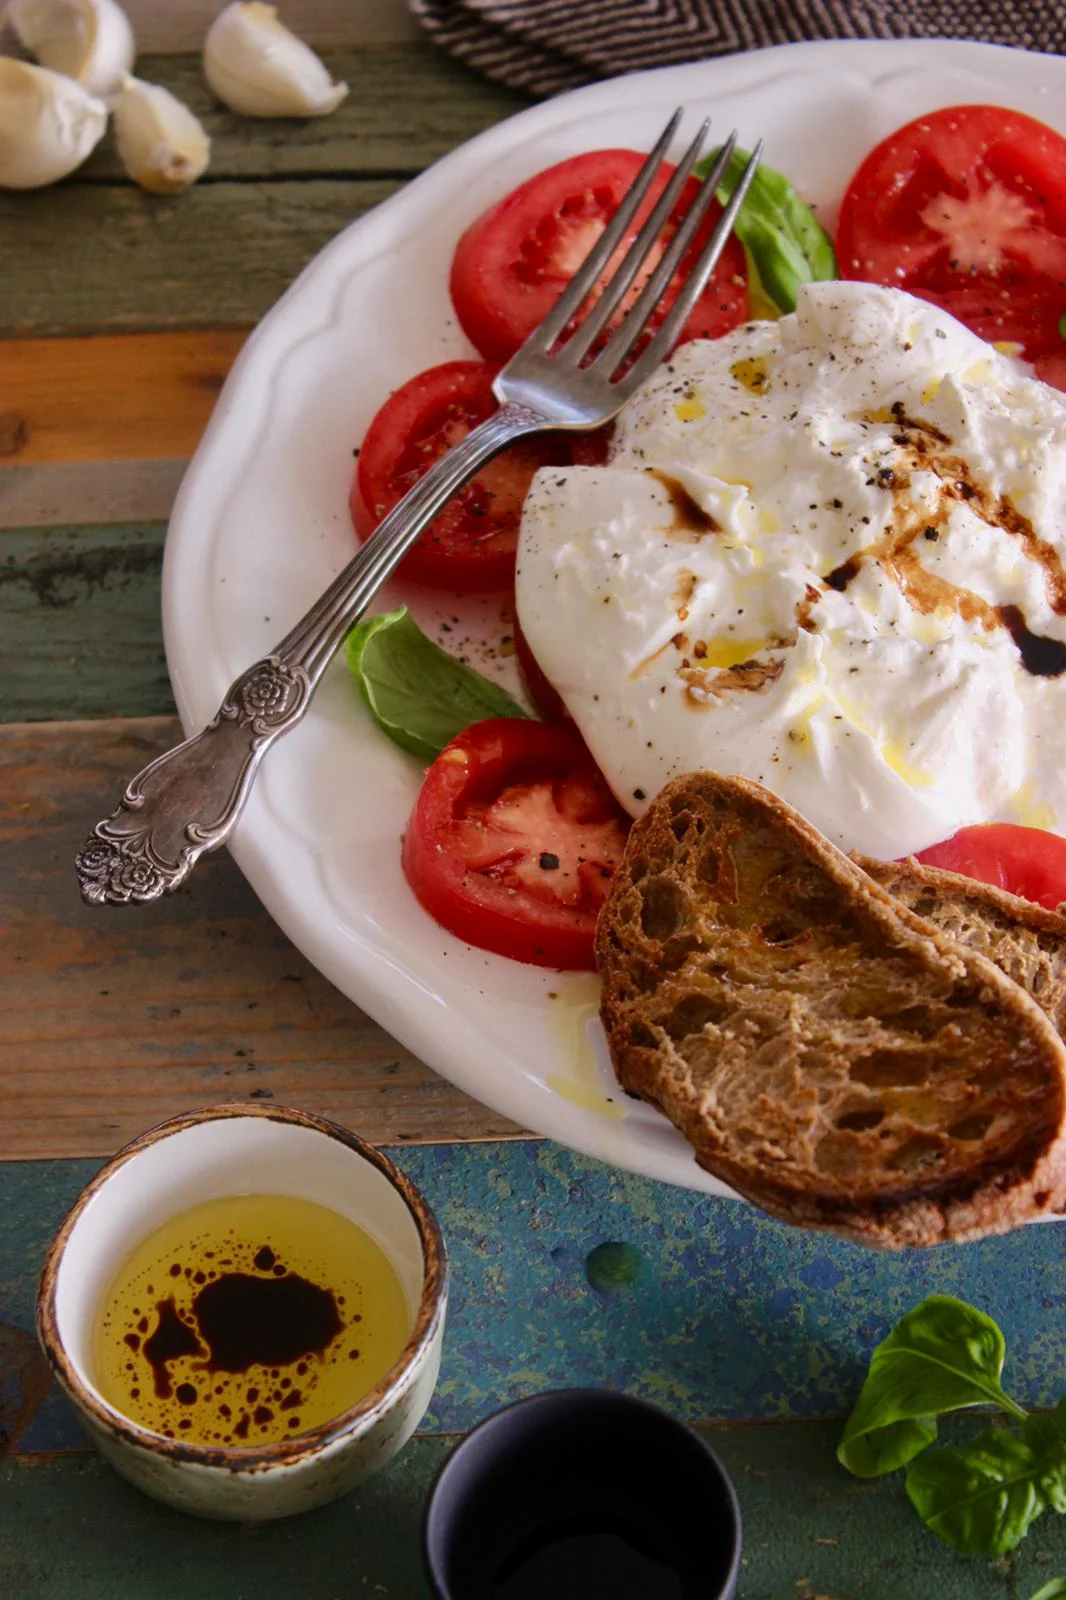
Burrata with tomatoes
1 package burrata cheese, drained
2 large, juicy tomatoes, cut into thick slices
1 tbsp extra virgin olive oil
1 tbsp balsamic vinegar cream
Handful of basil leaves, torn
Salt and pepper
1. On a large plate arrange the tomatoes around the sides. .
2. Put the burrata in the middle and tear it apart with a fork.
3. Sprinkle with the torn basil leaves.
4. Drizzle with olive oil and Balsamic vinegar cream.
5. Add salt and pepper to taste.
6. Serve with toasted bread.
Recipe: Ārija Avota
Photo: Ārija Avota

Bruschetta with porcini mushrooms
A Friday snack for two? Don’t feel like cooking? This recipe is more like meditation instead of intense cooking :)
In Latvia we have many forests full of different mushrooms every fall- most of us love going out to pick some wild mushrooms. But if you have the option to buy some fresh from the market- it is just as good. This recipe is very easy and also a nice snack to have along with the chilled Sauvignon Blanc left from the cooking process.
4 large slices of Italian bread
4 garlic cloves
Thyme, a few branches
4 small porcini mushrooms
50 ml dry white wine, like Sauvignon Blanc
2 tbsp olive oil for cooking
1 tsp butter for cooking
Parsley or sage, chopped
Salt and pepper to taste
A tbsp of Balsamic vinegar cream
1. Preheat the oven to 210 degrees (celsius).
2. Place a baking sheet on the ovens baking tray and arrange the bread slices on it. Add crushed garlic cloves and the thyme branches, drizzle olive oil on top and then just use your hands to mix it all together (so the bread is soaked in oil and all the seasoning).
3. Place the baking tray in the oven and bake until the bread turns slightly golden, do not burn.
4. Clean and wash the porcini mushrooms, pat them dry in a paper towel. Cut into thin slices 3-5 mm and chop the greens and spices.
5. Heat a frying pan on medium heat and add both the oil and butter- cook the mushrooms to quickly become golden, around 2 min, add salt, pepper and wine.
6. Lower the heat and sautée for a bit until the sauce starts to reduce about 5 min, then add the greens and spices.
7. Put the mushrooms on the toasted bread, add the baked garlic cloves on top too. Drizzle the Balsamic vinegar cream over everything.
8. Serve with cooled Sauvignon Blanc.
Recipe: Ārija Avota
Photo: Oto Avots

Grilled cheese sandwich
Ah, the grilled cheese sandwich. So simple but if prepared correctly can really blow your mind!
If you have seen the movie Chef with Jon Favreau, you will understand what I am talking about…
The bread, soaked in the butter all golden and crunchy, the cheese, melted and creamy, running like hot lava once the sandwich is cut in half. Just heaven :)
4 slices of bread made for toasting
80 g Cheddar cheese, cut in thin slices (can be mixed with Gruyere and Parmesan)
2 tbsp soft butter
Serves 2 people
1. Cover all the slices of bread evenly with butter, be generous.
2. Using a cast iron pan (or a griddle, if you have one) toast all the slices of bread (buttered side down) keeping an eye on them the whole time.
3. Place the slices of cheese on two of the four pieces of bread, while still cooking. Place the other two pieces of bread on top of the cheese and press down lightly, keep cooking. If the bread starts to brown too fast, turn down the heat. Patience is needed here- the bread needs to cook slowly so the cheese can melt and the toast not burn.
4. Turn the sandwiches over and keep cooking slowly, let the bread soak in the butter on the pan.
5. Keep turning the sandwiches over watching for them not to burn, but waiting for the cheese to melt completely.
6. Once golden brown and ready to be removed from pan, let the sandwiches rest for a few minutes. Cut in half with a sharp knife and serve with a few slices of fresh tomato sprinkled with basil or dill.
Recipe: Ārija Avota
Photo: Oto Avots
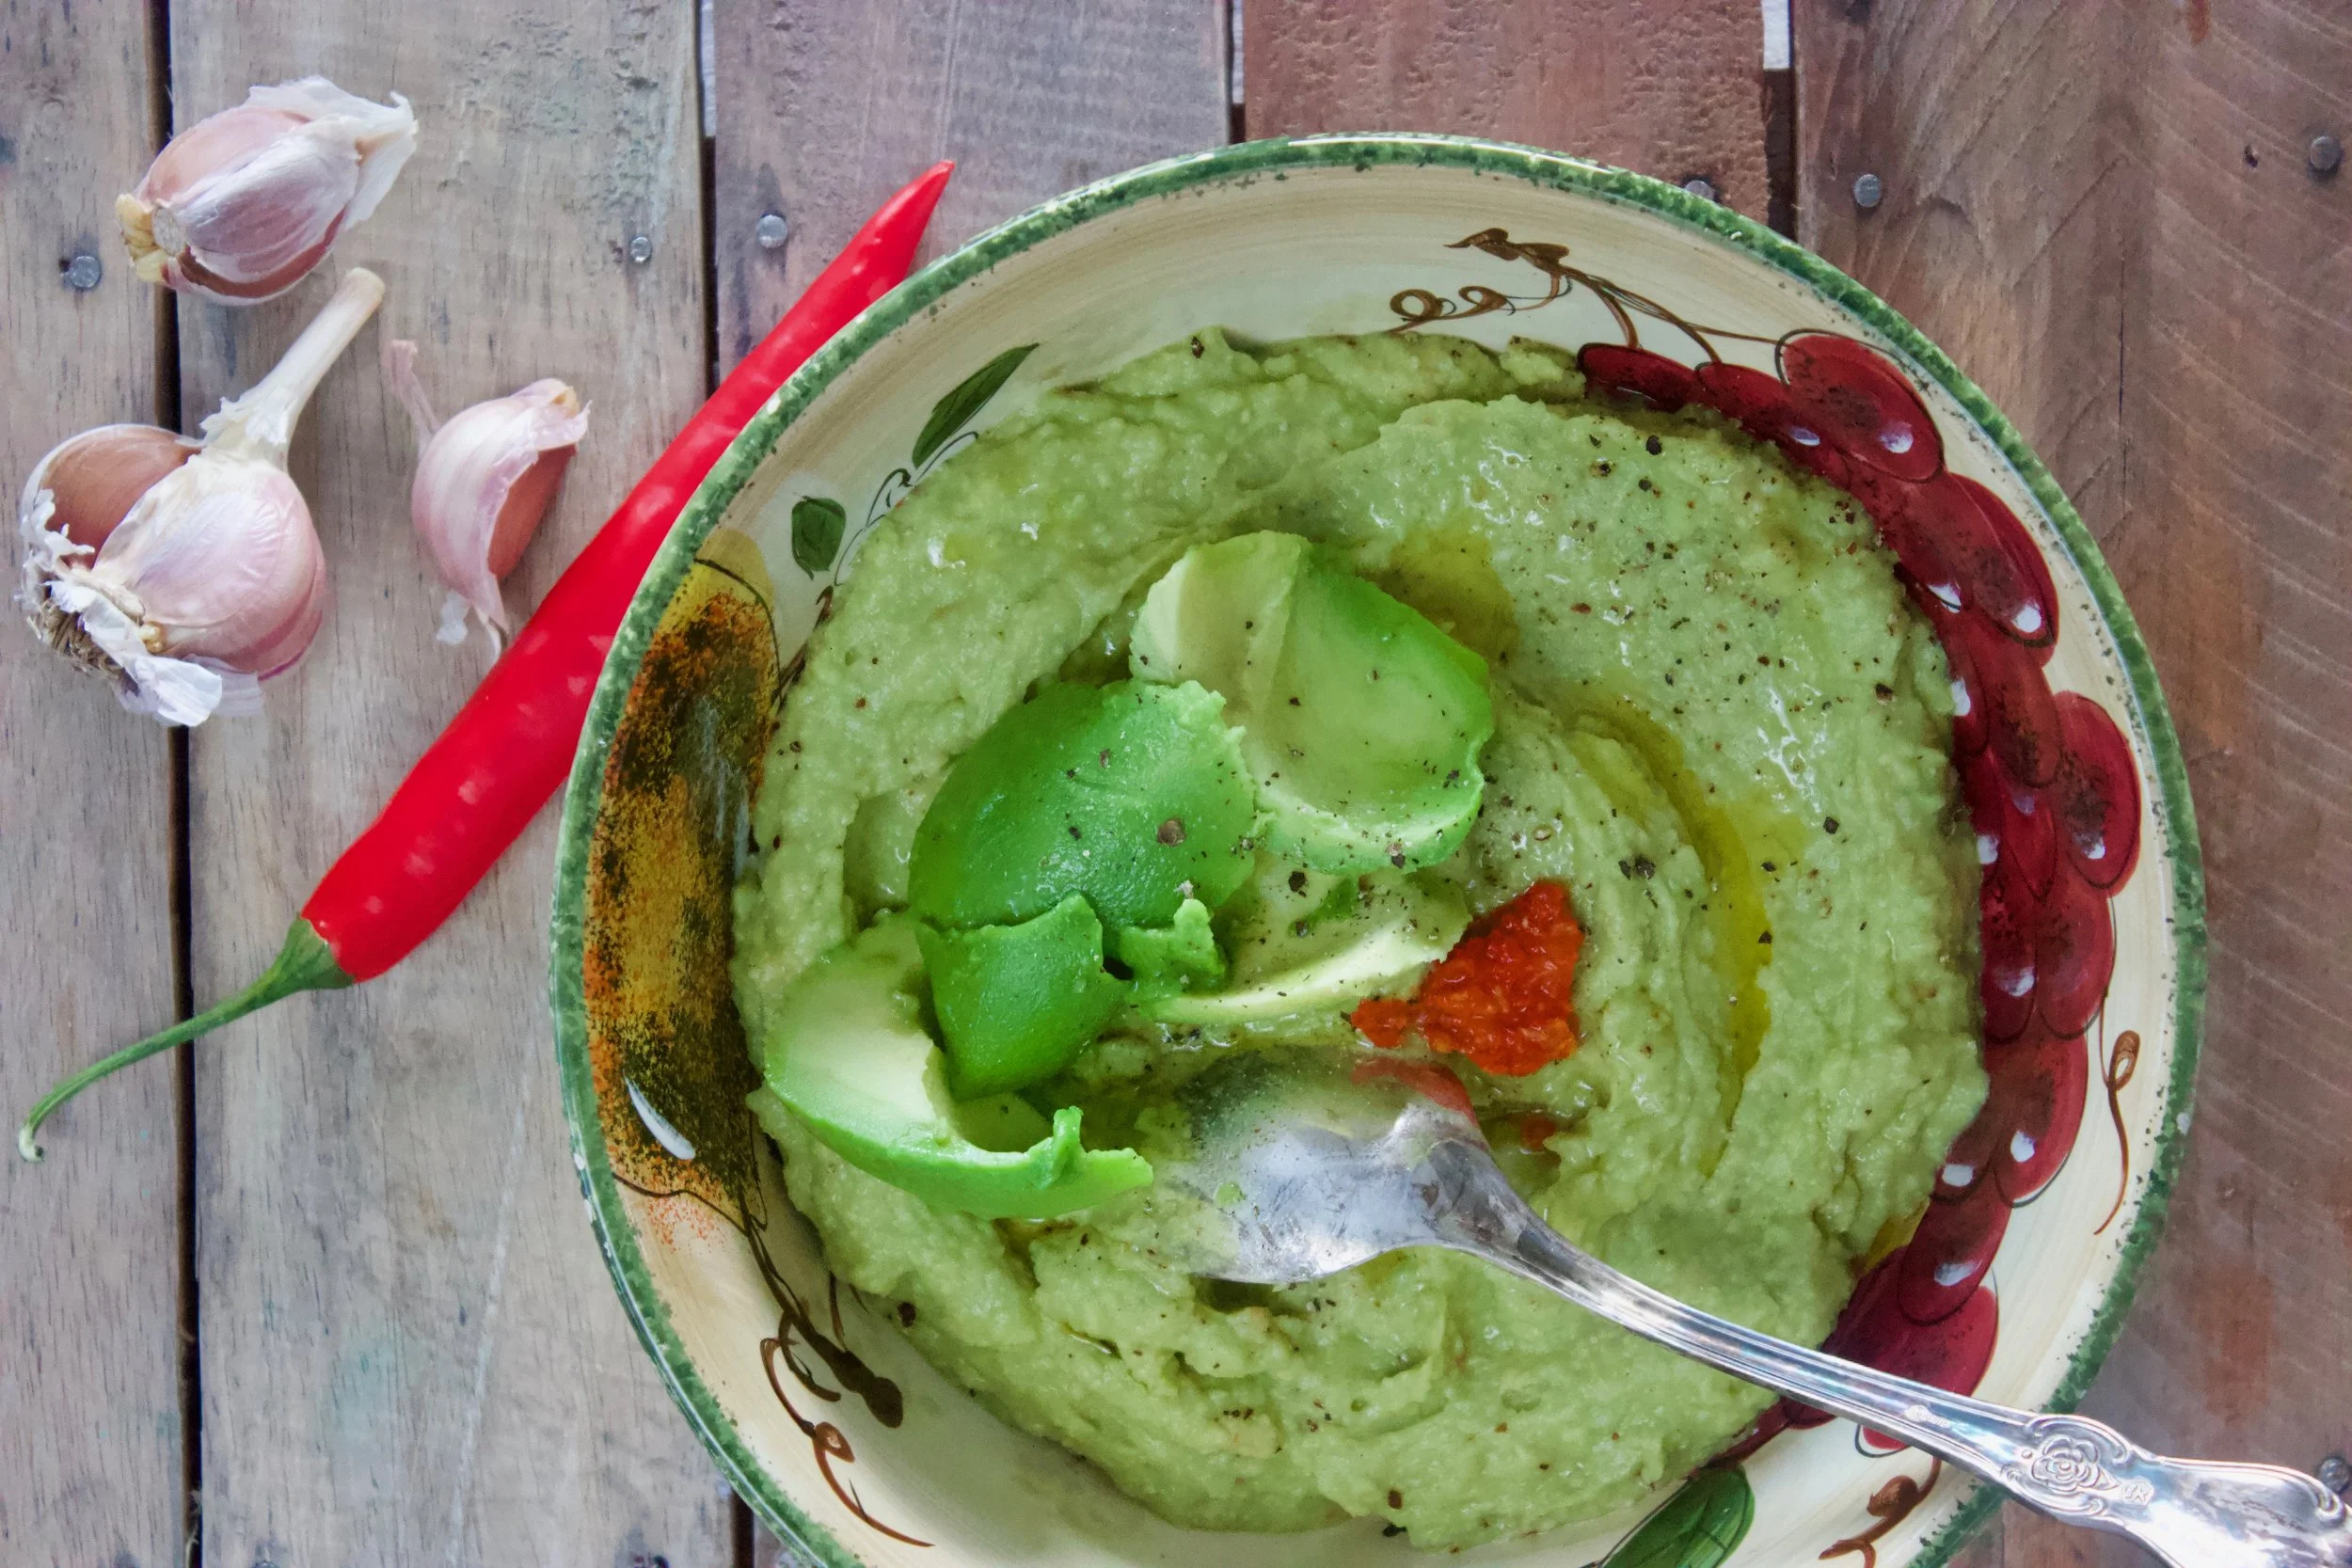
Avocado hummus
What can make our breakfast fresh and more healthy? Avocado humus, of course!
If you enjoy hummus in general, I suggest to get a whole jar of tahini paste- it gives that tangy taste to the hummus and can stay in the fridge for quite a while.
Anytime you come across some ripe avocados, make some hummus!
400 g canned chickpeas
4 ripe medium sized avocados
1 garlic clove
Handful of coriander or parsley
2-3 tbsp extra virgin olive oil, plus a little extra for serving
3 tbsp lime juice
1-2 tbsp tahini (sesame paste)
¼ tsp cumin
Chili to taste
Salt and pepper to taste
1. Using a food processor pulse together the chicpeas, olive oil, garlic, chopped coriander, chilli, tahini until it forms a smooth paste.
2. Add cumin, salt and pepper and the avocados- blend together until incorporated.
3. Serve with olive oil and fresh pepper on top.
Recipe: Ārija Avota
Photo: Ārija Avota


Romaine and blue cheese salad
This salad is great by itself as a snack or entrée, or as a perfect addition to many main dishes. When eating this salad, you use the romaine leaves as a utensil to scoop all the delicious sauce up. This salad could be called the “quick Caesar salad”- it is a little spicy and very juicy.
2 romaine salad cores (if you can’t buy the core separately, just use the inner leaves)
1 medium sweet onion, cut in thin slices
For the sauce
200 g blue cheese, crumbled
2 garlic cloves, pressed through a garlic press
4 fillets of anchovies, very finely chopped
3 tbsp Balsamic vinegar
80 g high quality olive oil
Salt and pepper
Makes 4 portions
1. In a small bowl or cup, mix together the Balsamic vinegar, chopped anchovies, salt and garlic. Slowly drizzle the olive oil in the sauce, whisking with a fork constantly. Finally add the crumbled blue cheese and fresh pepper.
2. In a large bowl or plate (the one you will be serving the salad in) arrange the romaine lettuce one by one. If the leaves are too big, cut them in half.
3. Spread the sauce evenly over the leaves and sprinkle the fine onion slices on top.
Recipe: Ārija Avota
Photo: Ieva Andersone (IG: photoievaandersone)
Published: Ievas Virtuve, santa.lv
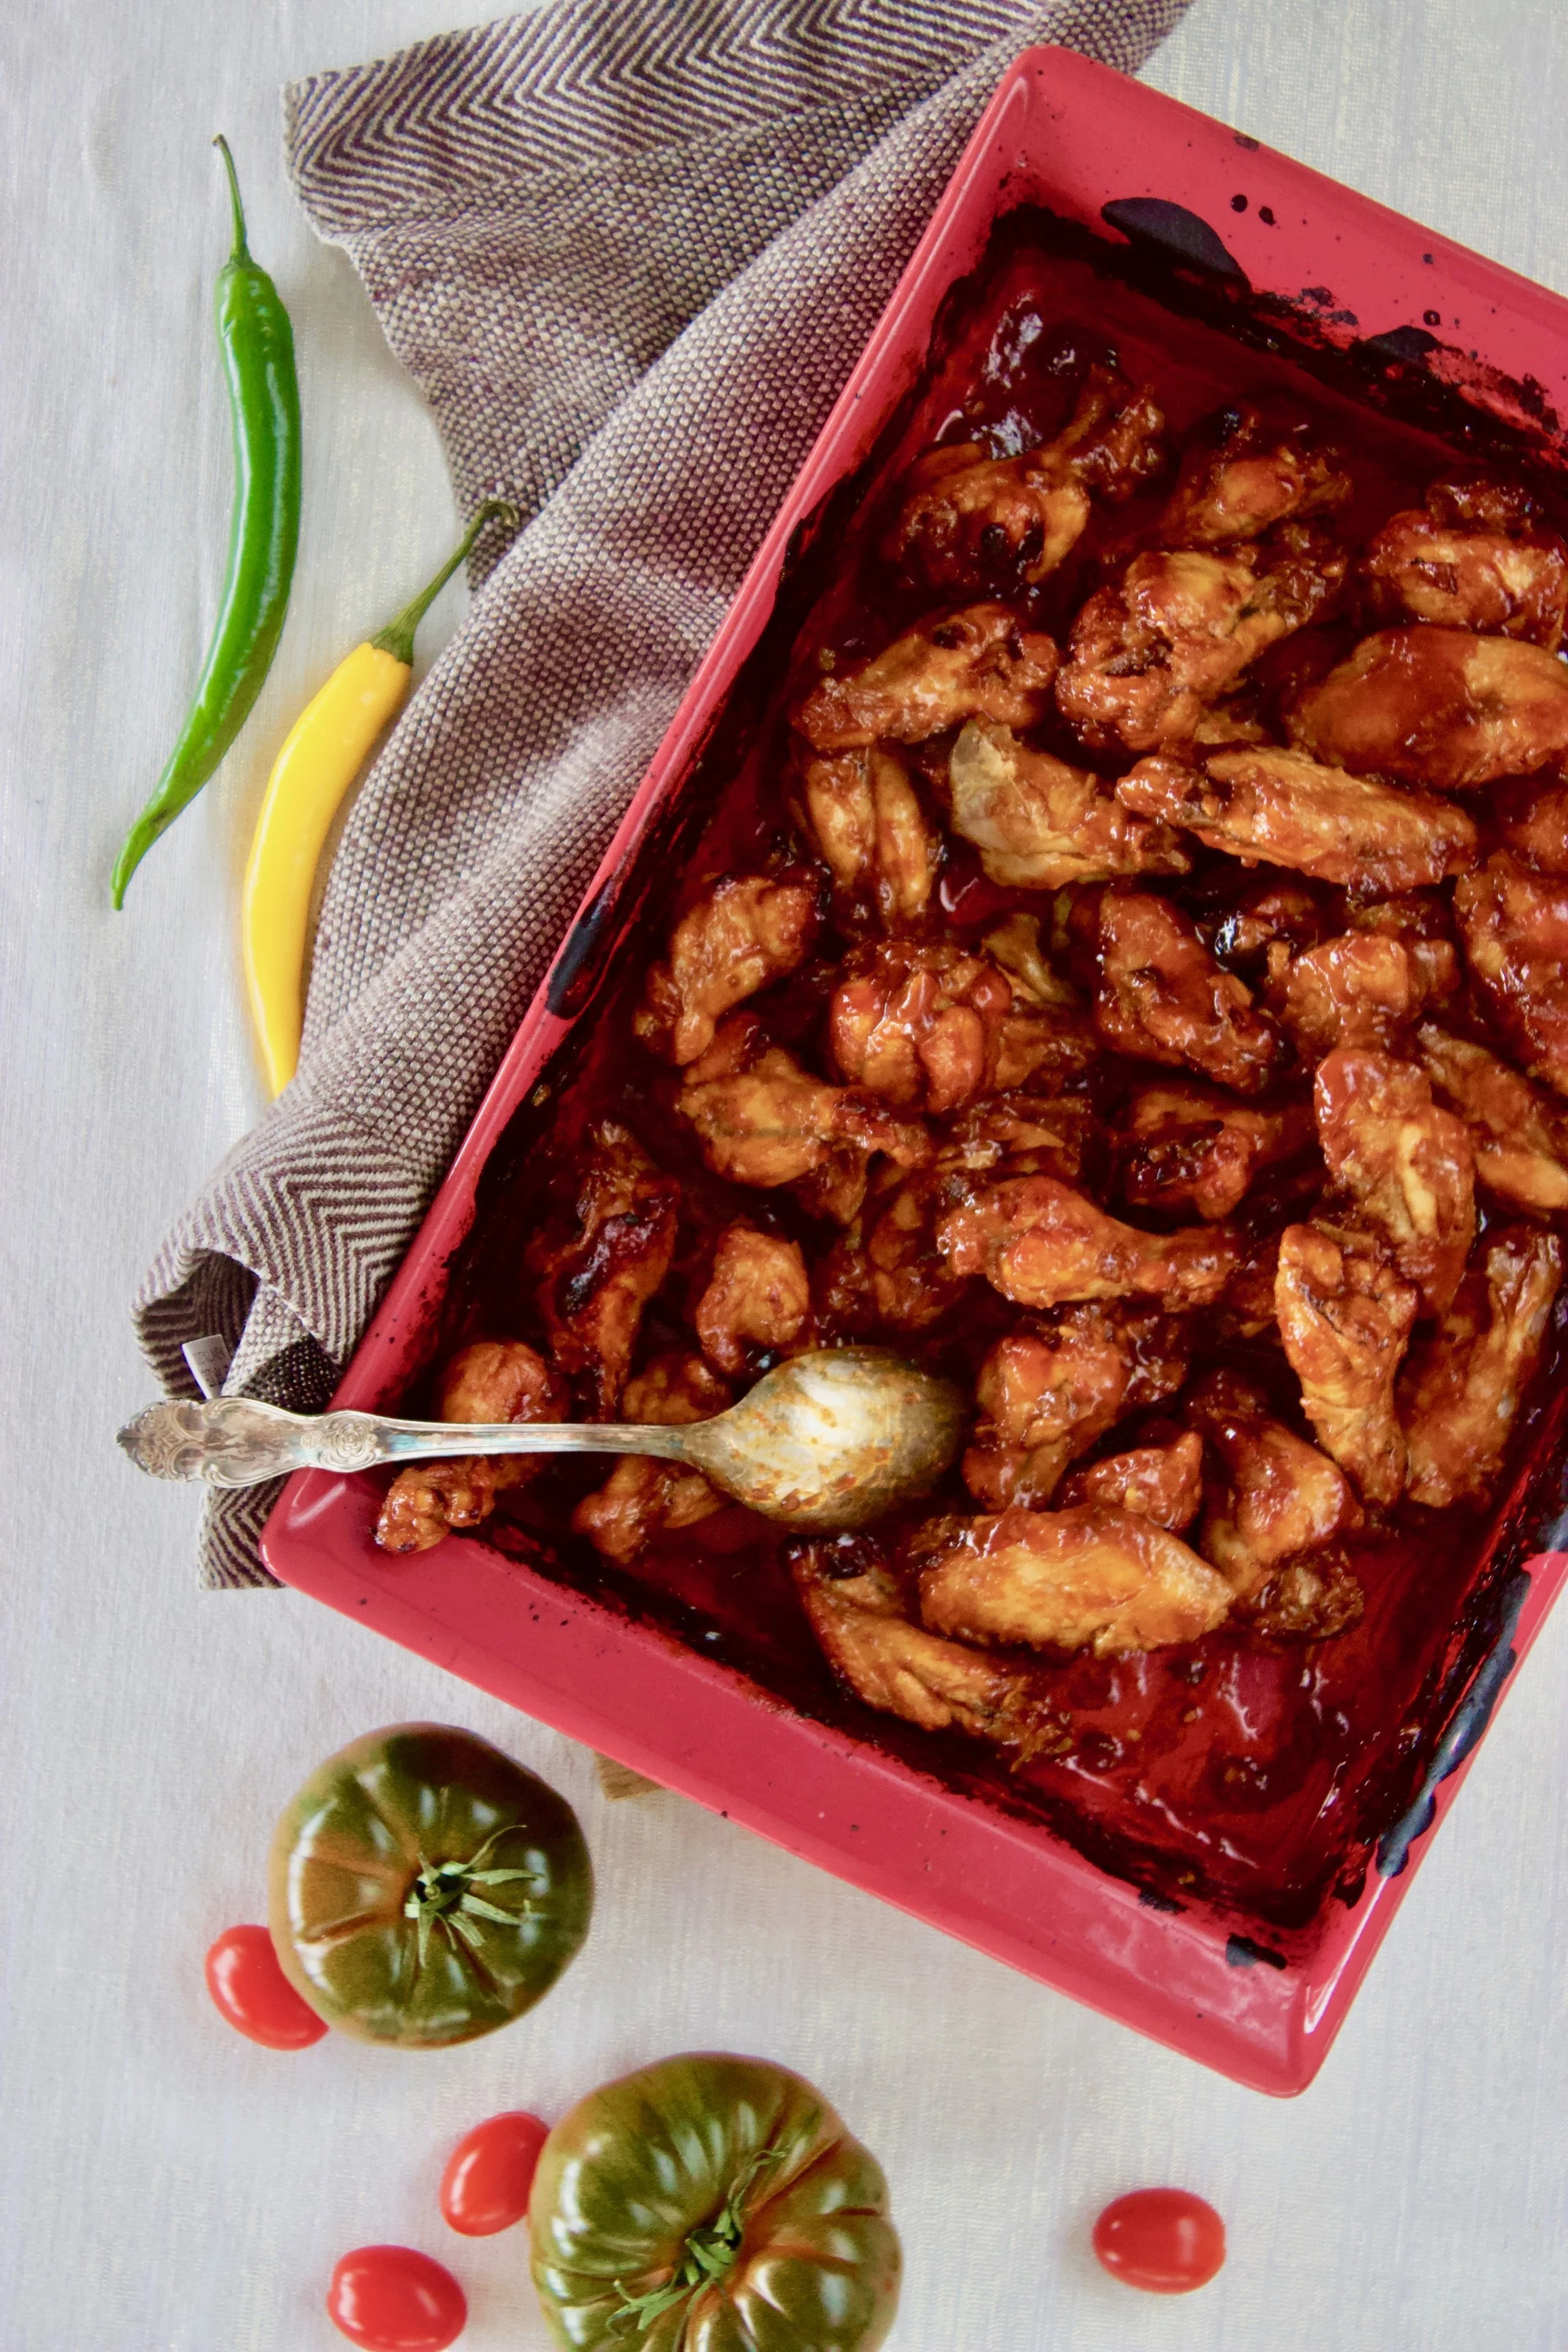
Chicken wings in bbq sauce
This recipe is simple- the wings can be eaten immediately as a main course with a side dish of your choice, or cold as a snack. Usually no one is left indifferent and the cook receives a lot of compliments. The key is to use a high quality soy sauce and ketchup. Also- the wings need to be cooked long enough for the sauce to start thickening and the wings are almost falling apart (and off the bone). After removing from the oven you need to stir the wings several times to let the sauce cover the wings completely and nothing is left at the bottom of the pan.
2 kg chicken wings (cut into 3 pieces, don’t use the tip)
For the marinade
100 ml ketchup
100 ml 9% vinegar
4 tbsp soy sauce
4 tbsp sugar, best to use brown sugar
1. Preheat the oven to 180 degrees (celsius) with fan. If you don’t have the fan option- heat it to 200 degrees (celsius).
2. Cut the wings in three pieces each (we don’t use the small tip), rinse and pat them dry. Arrange the wings in a 26x18x6 cm deep pan and set aside for now.
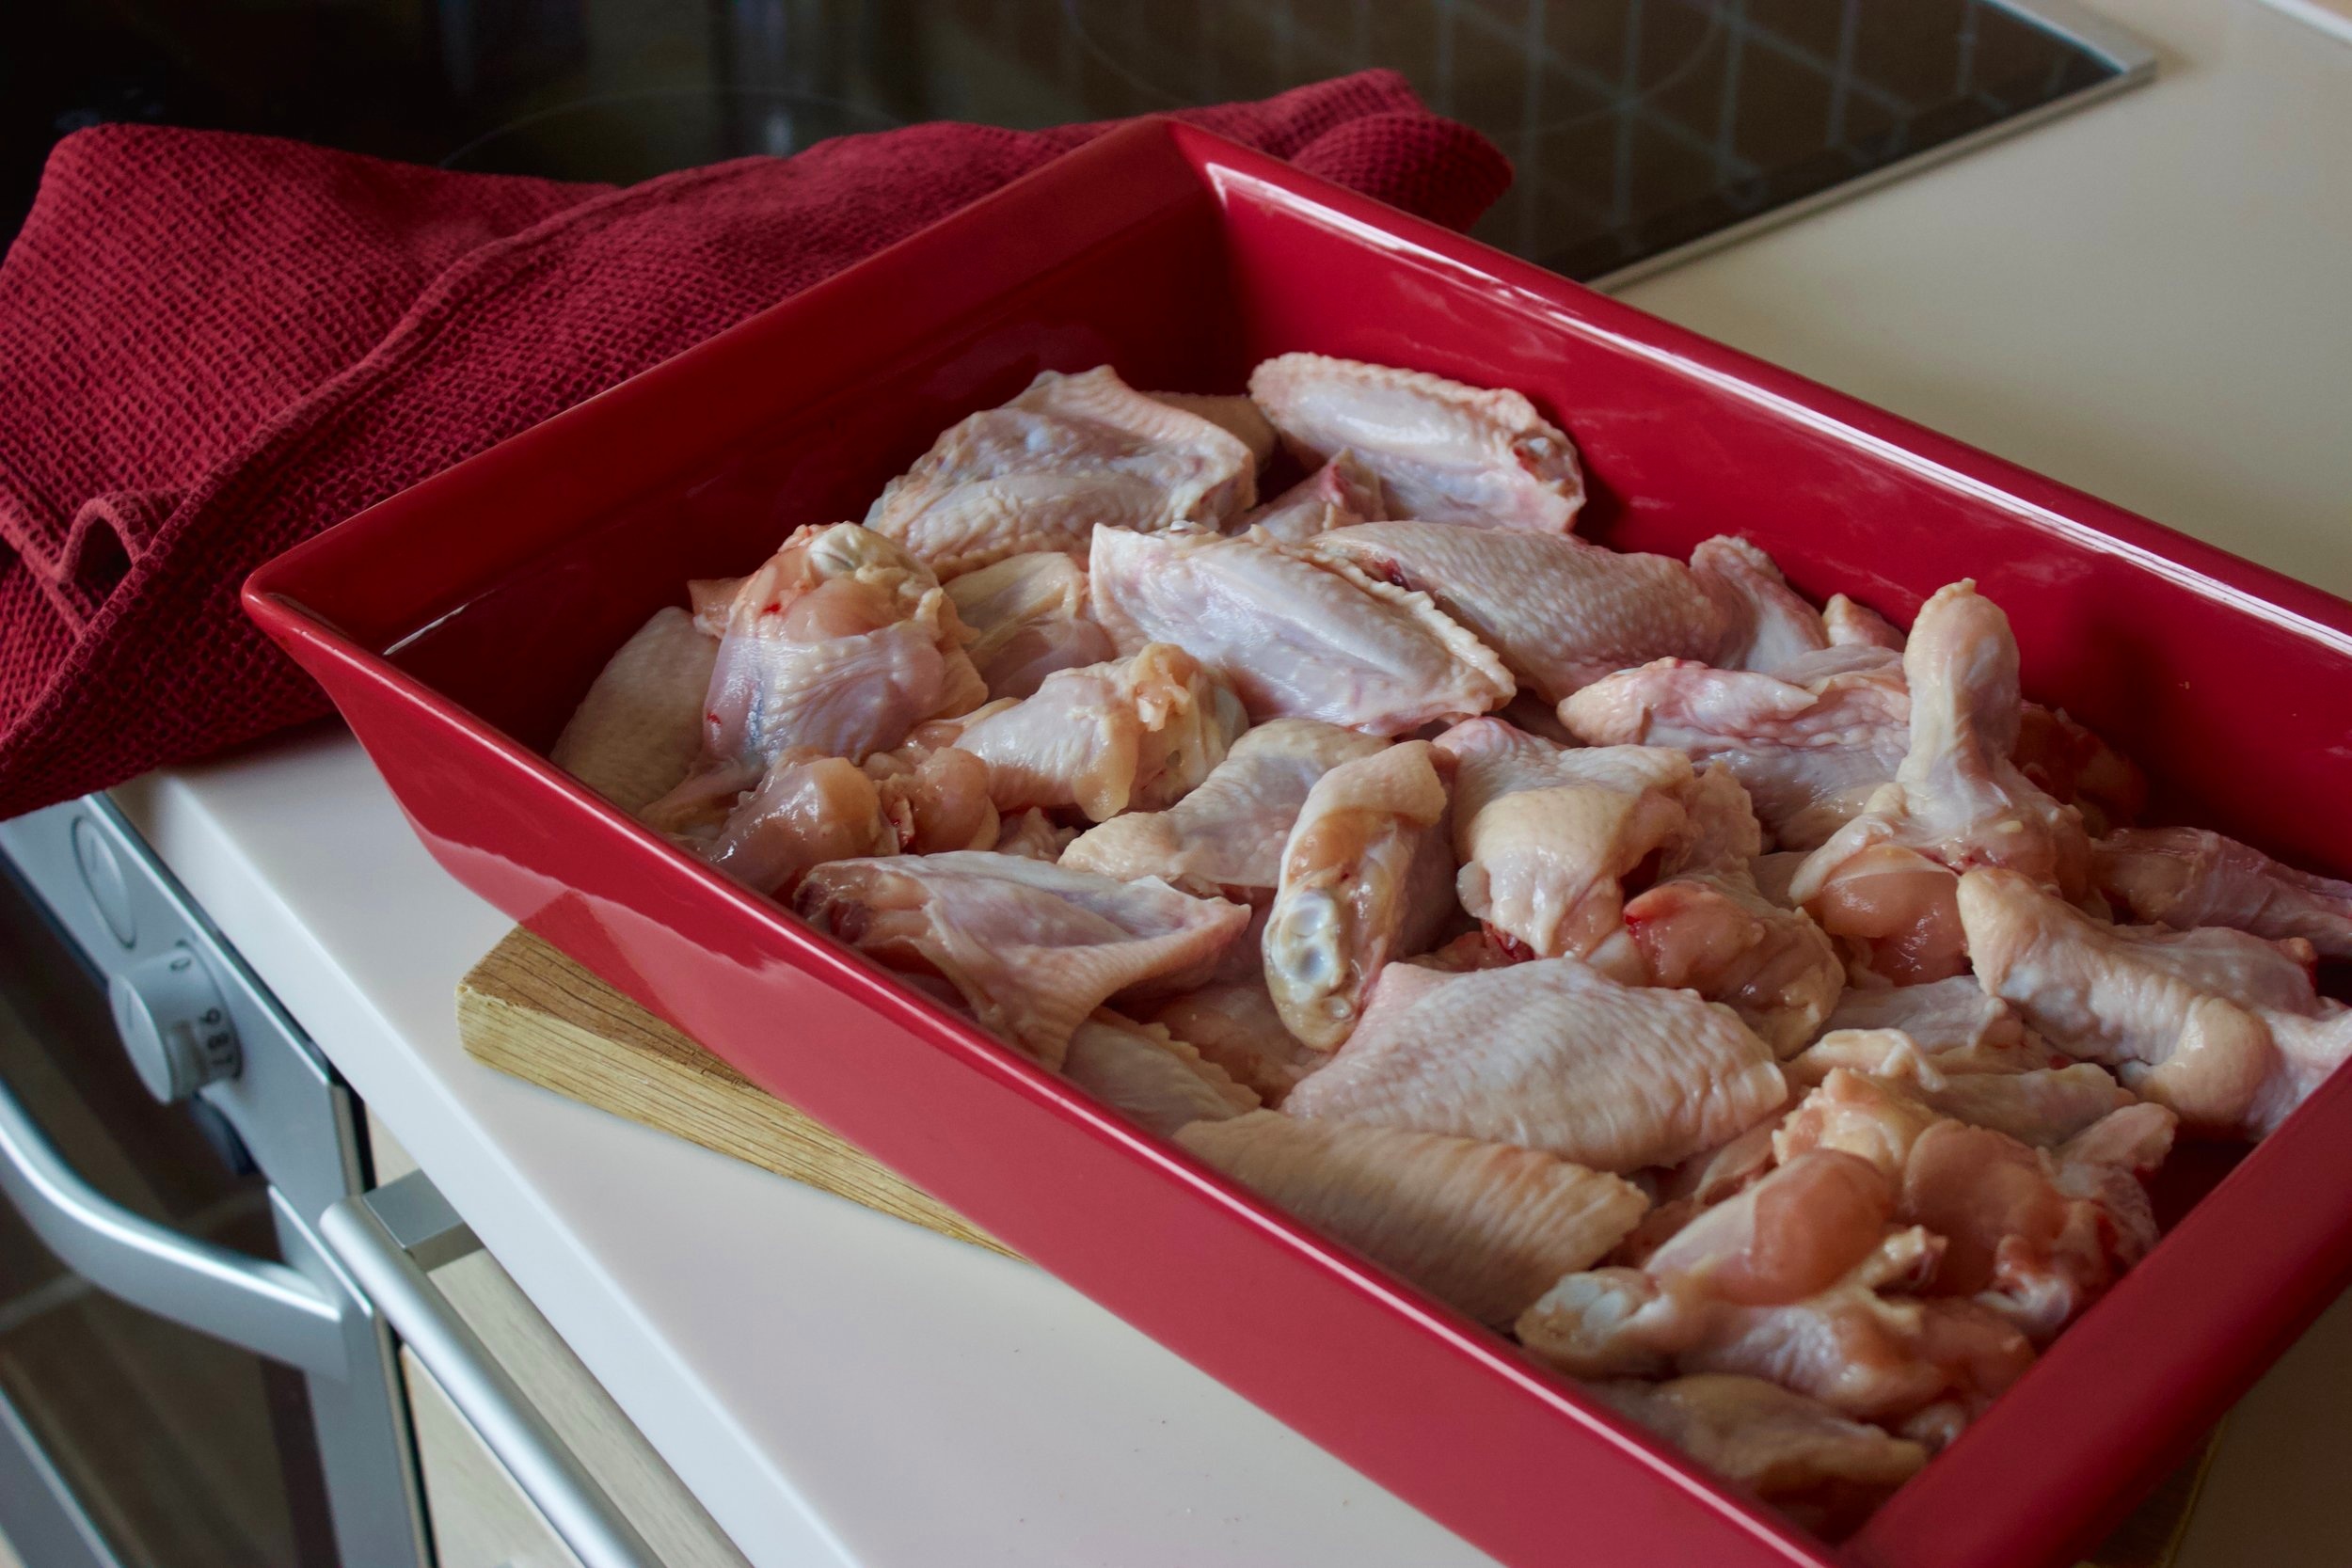
3. In a small pot mix together all the ingredients for the marinade sauce. Bring to a boil and pour it over the wings while still hot. Stir the wings so that everything is covered in sauce. Place the pan in the oven in the middle rack and cook for approximately 1 hour (stirring every once in a while). It is crucial to get the wings to brown and the marinade to thicken so it holds to the wings like a glaze instead of dripping off.
Recipe: Ārija Avota
Photo: Oto Avots
